Monday, February 17, 2025

Charm Haul

Happy Monday everyone! I hope you all had a wonderful weekend and were able to fit some crafty time in somewhere. I got some craft time in because it’s quite cold and there’s a lot of snow right now. Ultimately, I am a hang at home girl, so I cooked, ran to Home Depot and built some shelves for my craft room. I think doing a before, and after of my craft room would be kind of fun. What do you think? Would anyone be interested?

Last week I was watching @little_pink_crafter and I got tons of inspiration on how to use charms in my paper crafting. She is a designer for @scrapdivadesigns and I just love her creations. Charms are an embellishment I’ve never used before and I can’t wait to start.


I posted a YouTube video, my first one ever, so be kind please, showing all the fun jelly and Easter charms, shown above, I bought. You can find it at https://youtu.be/LPxXHJJZVU8?si=RPDyIdbO9vMRqAKF

I just bought variety packs. It was kind of fun because I didn’t know what I was going to get in my packages. I bought probably four variety packs of jelly charms, shown above, one pack of Easter charms and four big packets of metal charms in variety of colors and themes.

My next YouTube video is going to be showing my haul for all of the above items which are all metal charms, pom-poms and  tassels. Then next week, I’m going to show you how to use all these goodies on a couple projects.

 You can also find me on my Instagram @dogsrockpapercrafts and my Facebook page, of the same name, DogsRockPapercrafts. 

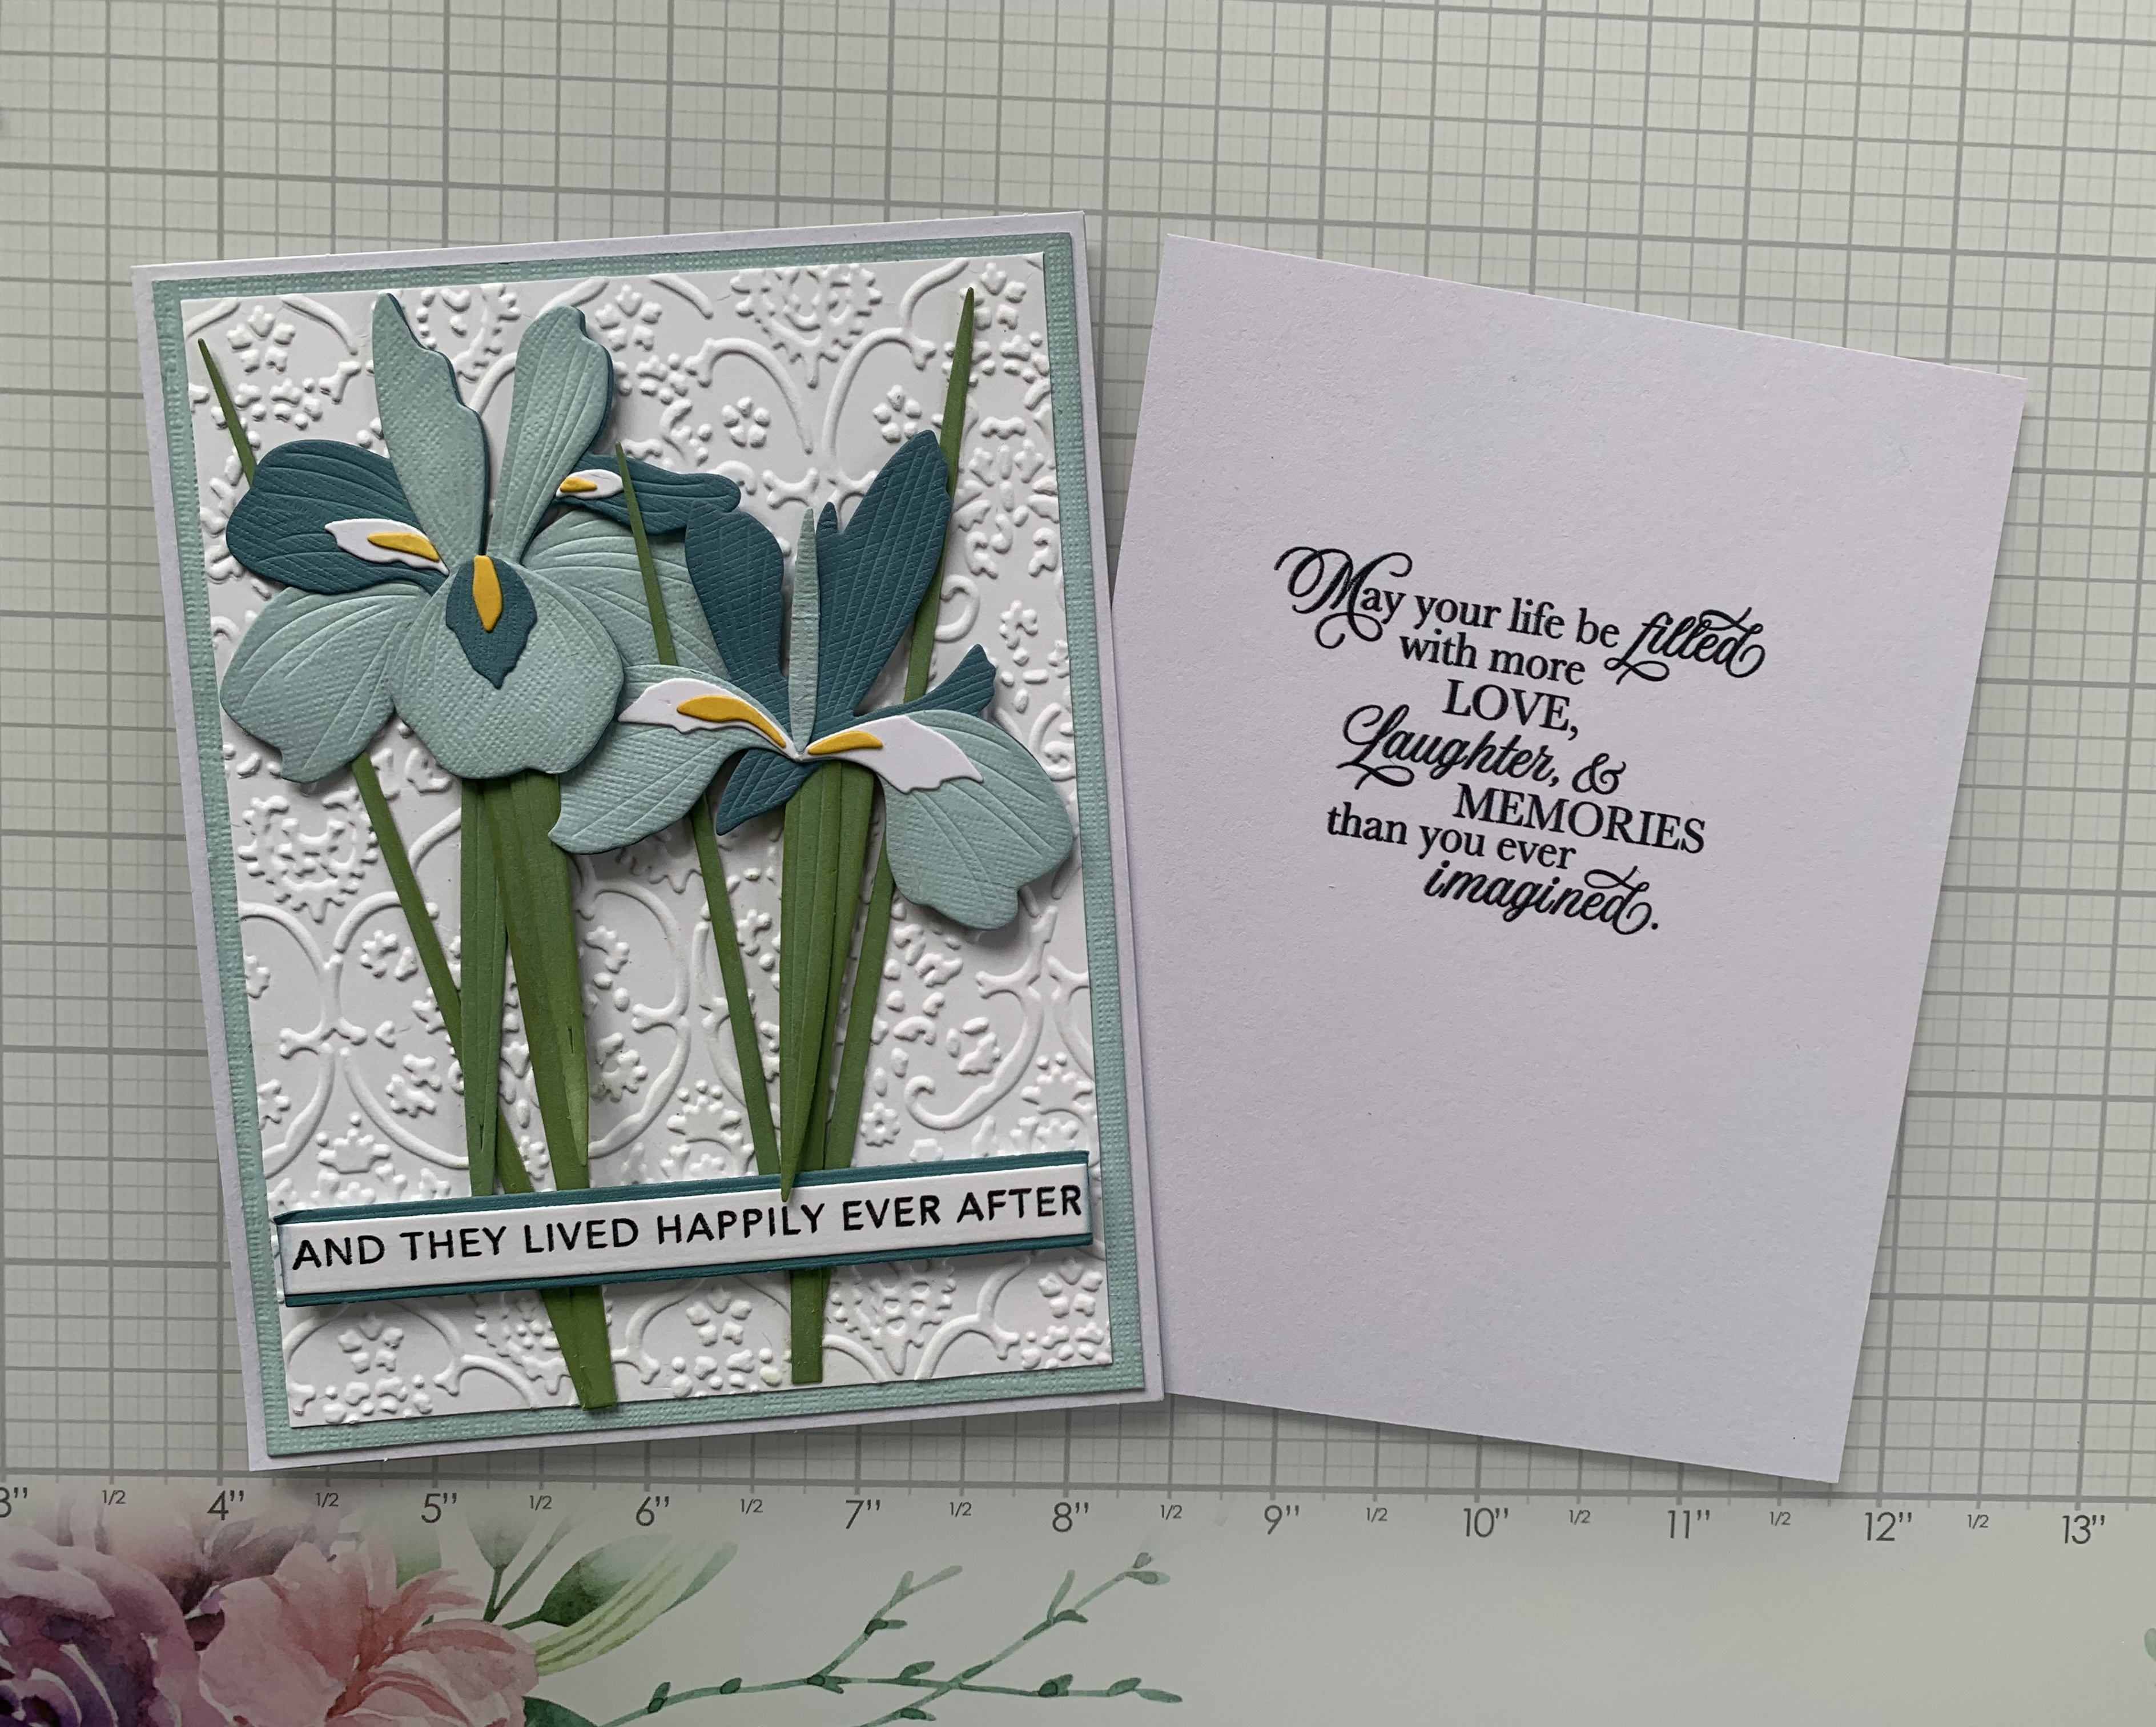
Stay tuned and have an amazing week!

Monday, February 10, 2025

Tea Bag Party Favors


I attended a local scrapbook retreat, this last weekend, and decided to work on some tea bag party favors. Tea parties are pretty popular, as well as just giving a gift of some comforting tea. I really enjoyed making these as the colors are a little out of my comfort zone. Went for the tea party, shabby chic look.


This die set is from KScrafts and can be found on Amazon under tea bag tag die. She also has a little stamp set that goes on a teabag tag which is pretty adorable. 

To assemble this teabag tag favor your first step is going to be to: 

1) cut out the base, three designer paper panels, two pockets and two designer paper panels for the pockets 


2) assemble the inside with two of the tag panels, the two pockets and the two pocket designer paper panels. I like to use Bearly Art glue so I can position my parts easily. 

3) tie a ribbon with your twine and use a glue dot to attach it to the tab  

4) pick your favorite tea bags and place them into the pockets. I chose to place my velcro dots on the inside because I felt like it made the tag close better.

5) cut out your words. I chose to use green and mauve so they popped off the designer paper. I also added a spoon, with a little piece of twine wrapped around it, and tucked that into the inside, so it poked out of the top  

7) as a last step I used some Picket Fence, flat backed, embellishments and placed them randomly on the front. I also added a small flower, which is shown in the very first picture. You can find the pearl embellishment here: https://pfstamps.com/collections/gradient-flatback-pearl-mixes/products/gradient-flatback-pearls-lime-green-pale-pink 

I hope you enjoyed this post! These are easy to put together and add a little something to letting someone know you are thinking about them. I also can picture them placed on the table settings at a wonderful tea party!

Daisy is wondering why I’m not paying attention to her instead of crafting  You can also find me on Instagram @dogsrockpapercrafts


Thursday, February 6, 2025

Iris Wedding Card


Hello everyone! Today I’m sharing a wedding card. A couple weeks ago our town had a big wedding fair and it inspired me to make this homemade wedding card.

 
I put the wording on a panel and glued it to the inside. It seemed like a fairly generic saying that could be given to any couple. The saying is from CTMH which recently closed their doors.


First, I cut out all the little pieces and arrange them by color so I could see what I had to work with. The dies are from Papertrey Inc. 


Once I could visualize my pieces and my colors, I put together my flowers, alternating the colors to give them dimension. I inked the edges of the flowers, and the stems, to give them depth. You can see the colors I used above. I used a little bit of yellow and white to give the flowers some Pop.


Then I set the stems up next to the flowers to see how I would want to arrange them. I inked their edges and glued my stems and flowers together. Then I put together my card base. It was a 5 1/2 x 4 1/4 card base. I cut the light blue panel to 5 5/16 x 4 1/16. Then I cut the white panel to 5 1/8 x 3 7/8 and embossed it with an older cuddle bug embossing folder. I’m not sure what the name of it is though.

Then I attached both of those panels to my car base, placed my flowers how I wanted them and then added my stems and the sentiment. I popped the flower on the right, and the sentiment up on foam dots to give it some dimension.

Daisy was feeling  her oats earlier today. She’s 12 years old and she was acting like a puppy chasing around one of her stuffies. 


I hope you all found this helpful and inspiring! I’m looking forward to sharing my next creative idea with you so stay tuned. I’m also on instagram @dogsrockpapercrafts. 


Sunday, February 2, 2025

Coffee Cup Gift Card Holder


Welcome back to my blog… one of my favorite projects is this coffee cup gift card holder. Who doesn’t like coffee, hot chocolate or even tea. It can be tailored for any of those, but I happen to be a coffee fanatic. I bet you have one or two of those in your life!


The die set I used is from Jaded Blossom and is really easy to put together, making it a quick gift. I give a lot of these out, at work, for dates such as nurses week and other healthcare professional days. 


I cut the elements out of black and white paper, stamped the saying from Riley and Company and put it together with my Barely Art glue. Easy Peezy and now I have a gift for any occasion.

Thanks for coming back today and you can find me on Instagram @dogsrockpapercrafts for other card making and paper crafting inspiration.

Saturday, February 1, 2025

Early Easter Card


Good morning everyone! It’s a cold and snowy day so I am sitting in my craft room making early Easter cards. It’s hard to believe that Easter is not that far away and I thought I’d get ready and be ahead of time. This is very unlike me, but I am determined to get these out on time. Do any of you have the same problem?

 I have Vinny cheering me on while
he naps in his dog bed next to my craft table.


Today we’re going to make a card using the Have A Spine and Bookish Holiday Frames dies and stamps from The Greetery. We are also going to use a sticker set called Easter paper crafting, by Parklane, that I got at Joann’s.

Your first step will be to take a cream 5 1/2 x 4 1/4 folded card, and use the die indicated below, to make it the appropriate shape for this card.

Your second step will be to cut out two 5 1/2 x 4 1/4 dark blue panels by using the die indicated below. 


In the Have A Spine set you will get the two dies below. These cut out the spine and the bottom part to look like pages.

This is what it looks like below. I cut my spine and page pieces out of light blue card stock that I’ve had in my stash for a while. I think, if I’m remembering correctly, it’s from Bazzil  

You take the small bottom page piece and glue it to the spine piece prior to adding it to the dark blue panel.


Once you glue that bottom piece on, you can now glue the whole spine and bottom page piece onto your panel. It should look like my example below.


I glue my spine and bottom onto the panel first, before stamping, so that I have an accurate picture of where I need to place my Bookish Holiday Frame stamp, to be centered. 


Once I got my frame stamped, I took the bunny sticker, from the Park Lane sticker set, and centered it in the middle of the frame


The final step is to cut one cream and two vellum panels at 4 3/16 x 5 7/16. This will be for the inside of your card to make it look like there’s book pages. I line all three of the panels up to all of the edges on the inside of the book and glue them to the cream card base with a very thin line of glue. You may have to trim two little pieces from the cream card stock and vellum to match the card front. It’s not that hard and you’ll see exactly where you have to cut.
.


Now your card is done! You can stamp, or print, any saying that you would like inside on the cream panel. I think I’m gonna take a little snippet out of Peter Cottontail for mine.


Well, that’s it for today. I hope you enjoyed this card and if you have any questions, please leave a comment and I would be happy to answer it for you. 

I am working on a YouTube channel so I can do these tutorials in video form. I know it’s easier to watch a video, but if you follow the directions up above, this card really does go together easily.

Have a wonderful weekend and stay tuned for my next card. I think I’m gonna do a birthday card next.


Large Envelope Folio

Good afternoon everybody!  Boy…is it windy, cloudy and snowy here in Montana today. In other words, the perfect day to sit in my craft room ...